
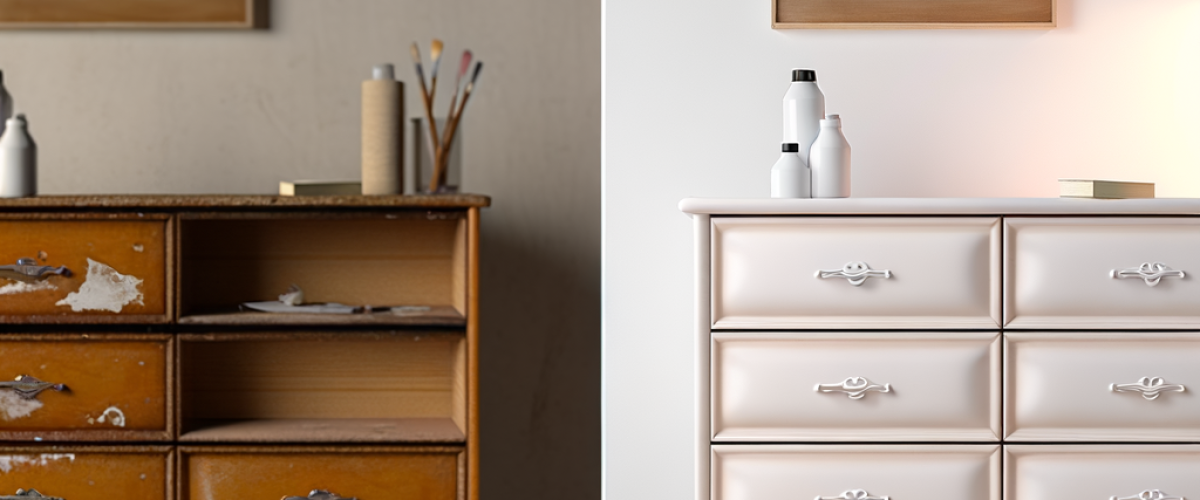
Are you tired of your old, outdated dresser? Do you want to give it a fresh new look without breaking the bank? Look no further! In this blog post, we will show you how to transform your old dresser into a simple white dresser with just a few easy steps. Not only will this save you money, but it will also give your dresser a new life and add a touch of elegance to your home.
The Power of a Furniture Makeover
Many homeowners in Florida are turning to furniture makeovers as a way to revamp their home décor. Not only is it a budget-friendly option, but it also allows you to get creative and add a personal touch to your furniture. With a little bit of effort and imagination, you can transform your old dresser into a stunning piece of furniture that will make your guests green with envy.
At McFolling General Contracting (MGC), we understand the importance of a well-designed and functional home. As a residential construction company in Florida, we have seen firsthand the impact a furniture makeover can have on the overall look and feel of a home. That’s why we’re excited to share our DIY dresser makeover guide with you.
The Step-by-Step Process
Before you begin your dresser renovation, it’s important to have a clear plan in place. Here are the steps you should follow to achieve a successful DIY dresser makeover:
Step 1: Gather Your Materials
The first step to any successful project is gathering all the necessary materials. For this DIY dresser makeover, you will need:
- Old dresser
- Sandpaper
- Primer
- Paint (white or any color of your choice)
- Paintbrushes
- Paint roller
- Drop cloth
- Screwdriver
- Hardware (knobs, handles, etc.)
- Screwdriver
Step 2: Prep Your Dresser
Before you start painting, it’s important to prep your dresser. This includes removing all the hardware (knobs, handles, etc.) and giving the dresser a good cleaning. Use a damp cloth to wipe down the dresser, and let it dry completely.
Step 3: Sand Your Dresser
Next, use sandpaper to sand the entire dresser. This will help the paint adhere better and create a smooth surface. Be sure to sand in the direction of the wood grain and wipe away any dust with a damp cloth.
Step 4: Prime Your Dresser
Primer is essential when painting furniture. It helps the paint stick to the surface and prevents any stains from bleeding through. Use a paintbrush to apply a thin layer of primer over the entire dresser, and let it dry completely before moving on to the next step.
Step 5: Paint Your Dresser
This is where the fun begins! Use a paintbrush to apply a coat of paint over the entire dresser. You can also use a paint roller for larger areas. Let the first coat dry completely, and then apply a second coat for a more even and smooth finish. Be sure to let the paint dry completely before moving on to the next step.
Step 6: Add New Hardware
Now that your dresser is painted, it’s time to add new hardware. This is a great opportunity to get creative and choose knobs or handles that will give your dresser a unique look. Use a screwdriver to attach the new hardware to your dresser.
Step 7: Enjoy Your New Dresser
Congratulations, you have successfully transformed your old dresser into a simple white dresser! Place it in your desired location and enjoy the new look it brings to your home.
Contact MGC for Your Next Home Remodel in Broward County
At MGC, we are passionate about helping homeowners in Florida achieve their dream home. Whether it’s a complete home remodel or a simple furniture makeover, we have the expertise and experience to make it happen. Contact us today at 954-258-6769 or email us at contact@oakpark-construction.com to learn more about our residential construction services.
Don’t settle for a dull and outdated dresser. With our DIY dresser makeover guide, you can transform it into a stunning piece of furniture that will add a touch of elegance to your home. Get started today and see the amazing results for yourself!